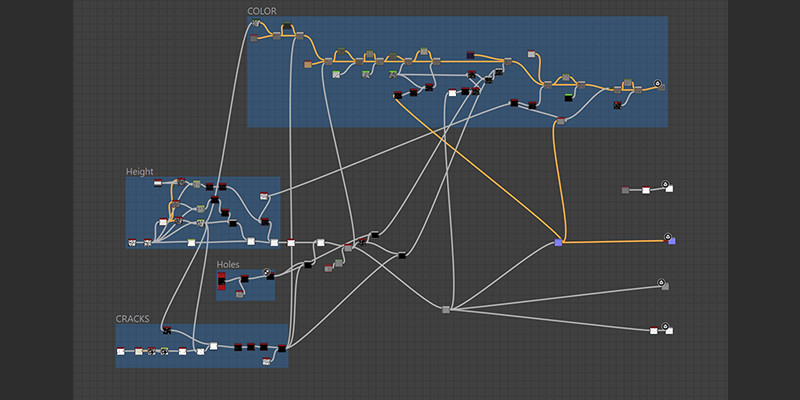
Introduction
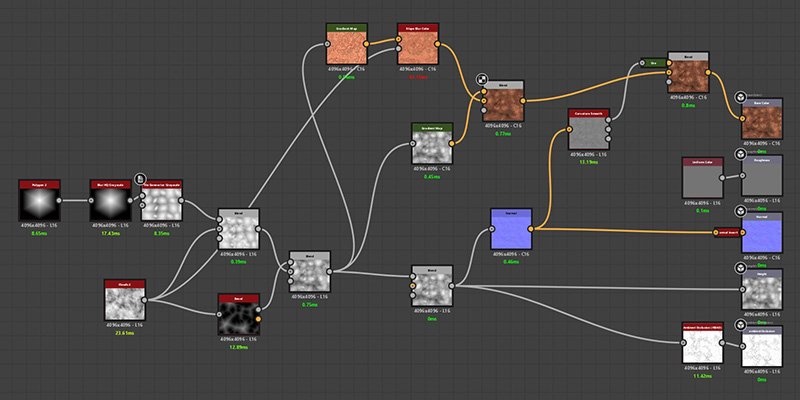
Substance Designer is a powerful node-based tool for creating procedural textures and materials. Understanding the basic nodes is the foundation for creating any texture. This tutorial will introduce you to the most essential nodes you'll use in almost every project.
By the end of this tutorial, you'll understand:
- Pattern generation nodes for creating base shapes
- Filter nodes for modifying and refining textures
- Blending nodes for combining multiple elements
- Transformation nodes for adjusting position and scale
Pattern Generation Nodes
Pattern generators create the foundation of your textures. These nodes produce various shapes and patterns from scratch without requiring any input.
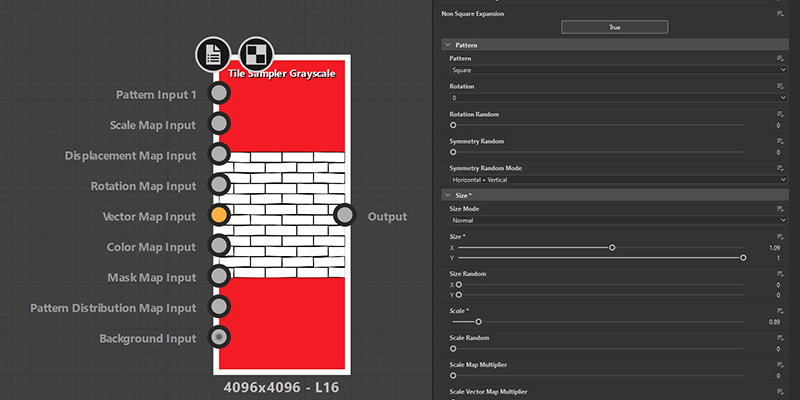
Tile Sampler
Purpose: Creates repeating patterns by distributing a pattern across a surface.
Common Uses: Bricks, tiles, cobblestones, scales, or any repeating element.
Key Parameters:
- X Amount / Y Amount: Controls how many times the pattern repeats horizontally and vertically
- Pattern: Choose from various distribution patterns (square, hexagonal, brick, etc.)
- Scale: Adjusts the size of individual elements
- Random Offset: Adds variation to element positions
Why it's essential: The Tile Sampler is one of the most versatile nodes for creating stylized textures. It allows you to quickly create complex repeating patterns with built-in randomization.
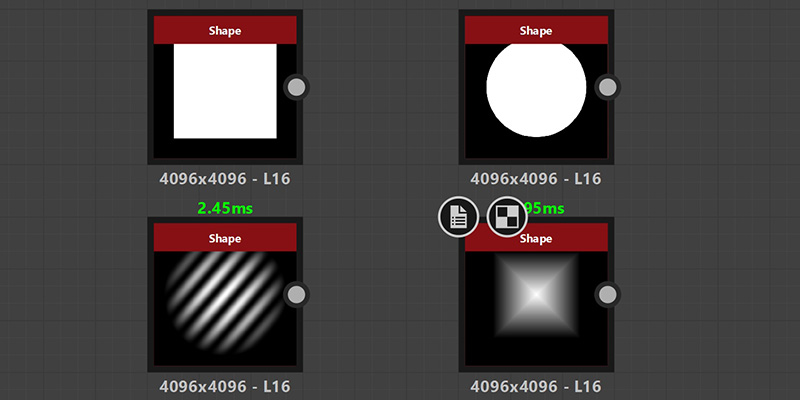
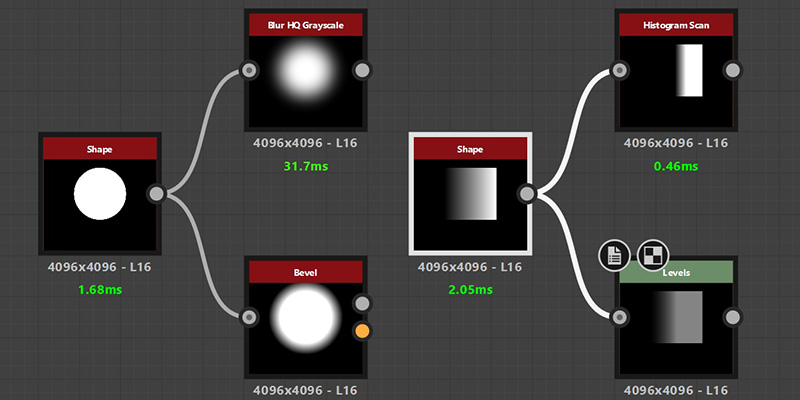
Shape
Purpose: Generates basic geometric shapes like circles, squares, and polygons.
Common Uses: Creating base shapes for patterns, masks, or design elements.
Key Parameters:
- Pattern: Select from various shapes (disc, square, pyramid, cone, etc.)
- Scale: Controls the overall size of the shape
- Angle: Adjusts the orientation of the shape
Why it's essential: Simple shapes are the building blocks of complex textures. You'll often use Shape nodes as inputs for other nodes.
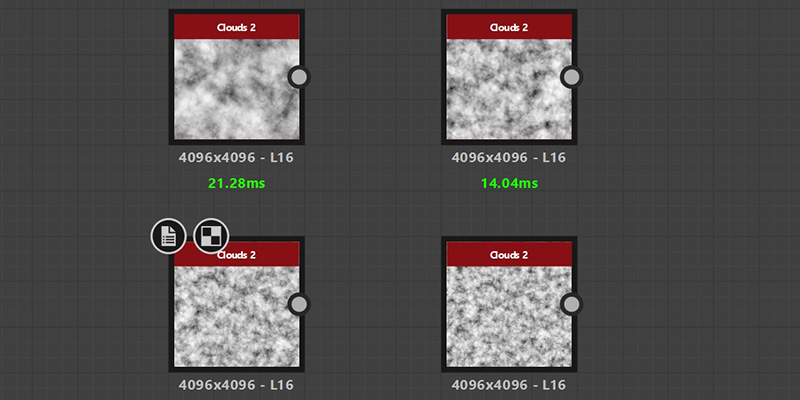
Clouds 2
Purpose: Generates organic, cloud-like noise patterns.
Common Uses: Creating natural variation, weathering, dirt, or organic patterns.
Key Parameters:
- Scale: Controls the size of the noise features
- Disorder: Adjusts how chaotic the pattern appears
Why it's essential: Noise is critical for adding natural variation and breaking up repetitive patterns in stylized textures.
Filter Nodes
Filter nodes modify existing patterns and textures. They take an input and transform it in various ways to achieve different effects.
Blur HQ
Purpose: Softens and blurs the input image.
Common Uses: Smoothing edges, creating glow effects, or reducing harsh details.
Key Parameters:
- Intensity: Controls how much blur is applied
- Quality: Higher quality produces smoother results but takes longer to compute
Why it's essential: Blur is fundamental for controlling edge softness and creating depth in your textures. It's often used before other operations to create smoother transitions.
Bevel
Purpose: Creates beveled edges on shapes, giving them a 3D appearance.
Common Uses: Adding depth to flat shapes, creating raised or recessed areas.
Key Parameters:
- Distance: Controls how far the bevel extends from the edge
- Smoothing: Adjusts the softness of the bevel transition
Why it's essential: Bevel is crucial for creating height variation and making flat patterns look three-dimensional, especially for stylized textures.
Levels
Purpose: Adjusts the brightness, contrast, and range of values in an image.
Common Uses: Fine-tuning contrast, adjusting brightness, or remapping value ranges.
Key Parameters:
- In Low / In High: Sets the input range (values below/above these are clamped)
- Out Low / Out High: Sets the output range (remaps values to this range)
- In Mid: Adjusts the midpoint (gamma correction)
Why it's essential: Levels gives you precise control over value distribution, which is critical for controlling how textures appear in different lighting conditions.
Histogram Scan
Purpose: Creates hard edges by converting gradients into distinct value ranges.
Common Uses: Creating stepped patterns, posterization effects, or isolating specific value ranges.
Key Parameters:
- Position: Sets the threshold value for the scan
- Contrast: Controls the sharpness of the transition
Why it's essential: Perfect for creating clean, graphic shapes from gradients and controlling exactly which parts of your texture are visible.
Blending Nodes
Blending nodes combine multiple inputs to create more complex results. Understanding blend modes is essential for layering elements in your textures.
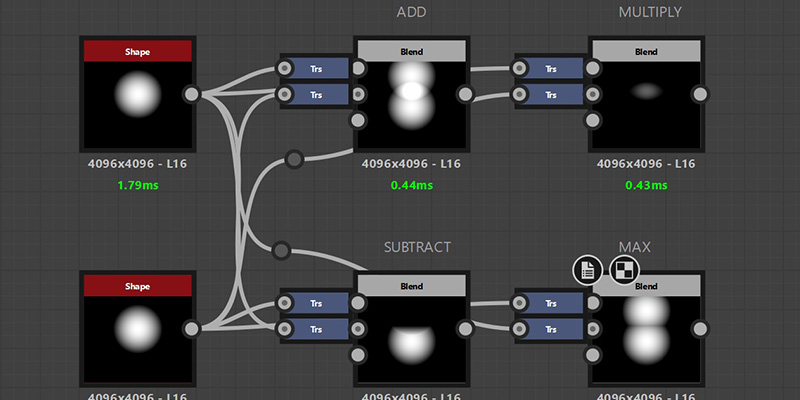
Blend
Purpose: Combines two inputs using various blending modes.
Common Uses: Layering patterns, adding details, combining different elements.
Key Blend Modes:
- Add: Adds the values together (brightens)
- Multiply: Multiplies the values (darkens)
- Max (Lighten): Takes the brighter value from each input
- Min (Darken): Takes the darker value from each input
- Subtract: Subtracts one input from another
- Overlay: Combines multiply and screen for contrast
Key Parameters:
- Opacity: Controls the strength of the blend
- Cropping: Determines how values outside 0-1 range are handled
Why it's essential: The Blend node is the workhorse of texture creation. You'll use it constantly to combine different elements and build up complexity.
Transformation Nodes
Transformation nodes adjust the position, scale, and orientation of your patterns without changing their content.
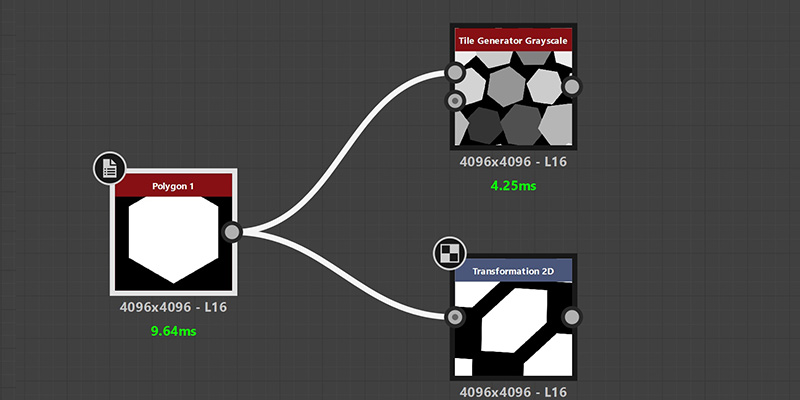
Transform 2D
Purpose: Moves, rotates, and scales the input pattern.
Common Uses: Repositioning elements, adjusting pattern scale, rotating designs.
Key Parameters:
- Offset: Moves the pattern horizontally and vertically
- Rotation: Rotates the pattern around its center
- Mipmap Mode: Affects how the pattern looks when scaled
Why it's essential: Transform 2D is crucial for adjusting patterns to fit your needs without recreating them. It's especially useful for tiling adjustments.
Tile Generator
Purpose: Makes a non-tileable texture seamlessly tileable.
Common Uses: Ensuring textures repeat without visible seams.
Key Parameters:
- Pattern: Choose the tiling pattern (horizontal, vertical, both)
- Mask: Controls which areas are blended at seams
Why it's essential: Seamless tiling is critical for game textures. This node automatically handles the complex blending needed at edges.
Color Nodes
While most texture work happens in grayscale, you'll need color nodes to create the final basecolor/albedo maps.
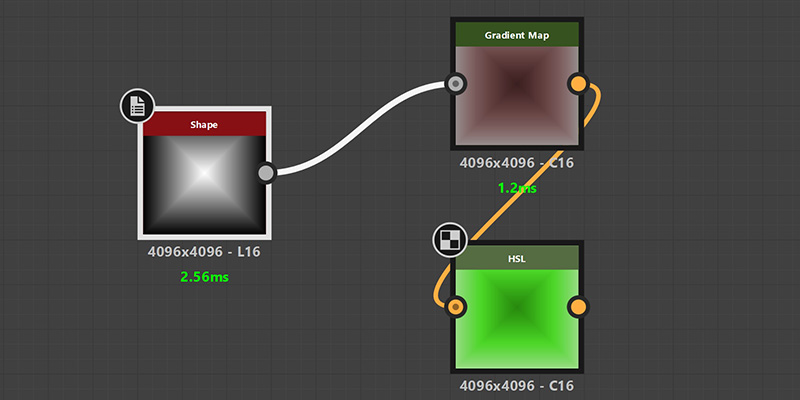
Gradient Map
Purpose: Converts grayscale values to colors using a gradient.
Common Uses: Creating color variations, applying color schemes to height maps.
Key Parameters:
- Gradient: Define the color gradient (black values map to left side, white to right)
- Sampling: Controls how colors are interpolated
Why it's essential: Gradient Map is the primary way to add color to your procedural textures. It maps your grayscale patterns to specific colors.
HSL
Purpose: Adjusts Hue, Saturation, and Lightness of color inputs.
Common Uses: Fine-tuning colors, creating color variations, adjusting brightness.
Key Parameters:
- Hue: Shifts the color around the color wheel
- Saturation: Controls color intensity (0 = grayscale, 1 = full color)
- Lightness: Adjusts overall brightness
Why it's essential: HSL gives you intuitive control over colors, making it easy to adjust your color scheme without starting over.
Putting It All Together: A Basic Workflow
Here's how these nodes typically work together in a simple texture creation workflow:
- Start with a pattern generator - Use Tile Sampler or Shape to create your base pattern
- Add variation with noise - Blend in Clouds 2 to break up repetition
- Refine with filters - Use Bevel to add depth, Blur to soften edges, Levels to adjust contrast
- Combine elements - Use Blend nodes to layer multiple patterns together
- Adjust positioning - Use Transform 2D to fine-tune placement and scale
- Add color - Use Gradient Map to convert your grayscale height map to color
- Final adjustments - Use HSL to tweak the final colors
Next Steps
Now that you understand these basic nodes, here are some ways to practice and expand your skills:
- Experiment: Create simple textures using only these nodes. Try making bricks, tiles, or wood planks.
- Study existing graphs: Download .SBS files (like those available to our Patreon members) and see how professionals combine these nodes.
- Learn blend modes: Spend time understanding how different blend modes affect your results. This knowledge is invaluable.
- Build a library: Save useful node combinations as presets or separate graphs you can reuse.
- Watch tutorials: Check out our video tutorials to see these nodes in action.
Conclusion
These basic nodes form the foundation of texture creation in Substance Designer. While there are hundreds of other nodes available, mastering these will allow you to create a wide variety of stylized textures. The key is understanding how to combine them creatively.
Remember that texture creation is an iterative process. Start simple, experiment with different combinations, and gradually build up complexity. With practice, you'll develop an intuition for which nodes to use and how to combine them effectively.